




Anyone who travels and is on the move is often confronted with the harsh and bad-tasting coffee reality. Undrinkable coffee on vacation and in the most beautiful places should be on the list of things we'd rather avoid. That's why we want to help with this guide.
We'll give you essential tips on how to make really good coffee on the go. The recommended brewing methods and recipes work just as well on hikes as on multi-day bike tours or kayaking routes. Tips for coffee in a motorhome are also included.
But coffee brewing methods and recipes are only one side of the coin. The right water, fresh grinding, and heating the water are the real challenges for anyone who wants to make coffee on the go.
This test, like all our tests, is independent and not sponsored. We buy our test equipment. Where we discuss items from our shop, we make that clear.
The author of the article was a German coffee sensory master and Swiss filter coffee master. Yes, such championships exist. He has been involved with coffee for 15 years and founded Kaffeemacher:innen out of passion for the subject of coffee.
Table of contents of the article.
We recommend three brewing methods:
- the perfect French press for the outdoors from Bestargot
- the Aeropress, almost a classic
- the Miir Pourigami filter
Other topics covered:
- How can you filter clean water while on the go?
- Tips on water hardness and water sources
- Boiling water without electricity
- What water temperature for which coffee?
- Can you cook coffee in a pot?
- How much coffee for how much water?
- Fresh grinding with a hand mill
- Other outdoor and camping brewers
Three brewing methods for delicious coffee on the go
I just completed a multi-day kayak tour from Bern to the mouth of the Aare River into the Rhine. I wanted to test which brewing methods really make sense on the go, take up little space, and guarantee good coffee quality in an outdoor setting. My absolute favorite on the go is a small French press (plunger pot) from Bestargot made of titanium, followed by the classic Aeropress and the MiiR Pourigami dripper.

1. Bestargot Camping French Press
The Bestargot camping plunger pot combines many things in one. At 216 grams, the small coffee press is super light and yet appears relatively stable. I recommend a maximum coffee brewing amount of 550 ml, even though the plunger pot has a maximum capacity of 730 ml at the top edge. But since water and coffee have to be added to it, this maximum amount is of little help. Various recipes can be applied. In an article about the French press we have described the two best recipes for the plunger pot.
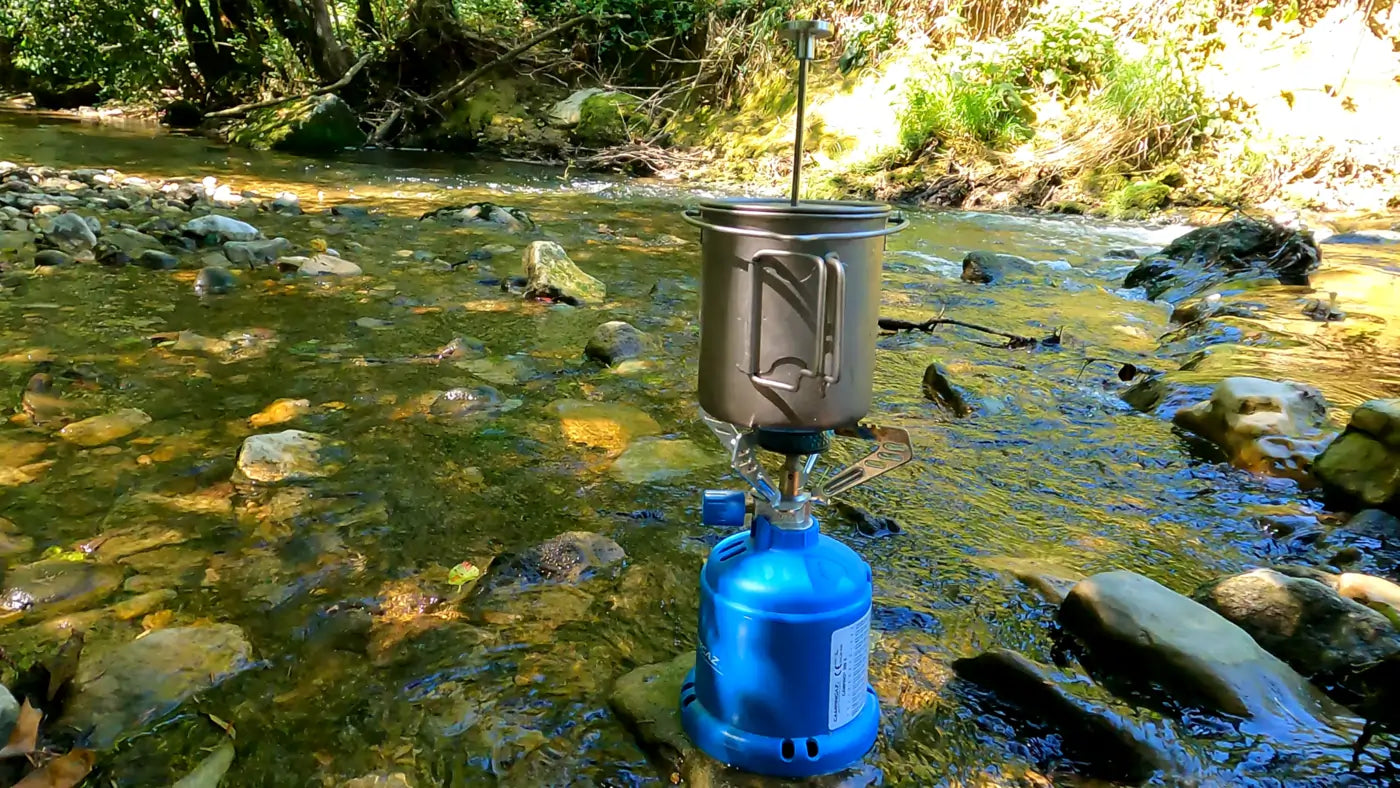
The strongest argument for the Bestargot French press is that the water can be heated in the brewer itself. Whether on a gas stove, a spirit burner, or a fire - the folding handle of the French press conducts heat barely, even when the water is boiling. So the handle remains touchable with bare hands. Caution, if flames flicker next to the brewer, the handle will also heat up!
The plunger pot makes a strong, full-bodied coffee. The mesh prevents fine particles that can taste dusty from passing through, especially if the coffee press is completely filled or poured in an uneven and quick manner. It's always best to pour slowly. If you want to reduce the dusty, mealy texture, you'll find tips in our YouTube video about the plunger pot.
By boiling conveniently in the plunger pot, we save ourselves an additional burner or pot with the Bestargot coffee press. A real advantage on trekking trips when you really want to save on luggage and weight. On my kayak tour, I also prepared my food in the plunger pot and did without any other pots. However, if you're traveling as a group, you won't have enough space in the French press.
The French press has markings inside for 500 and 300 ml, which provide guidance when pouring the desired amount of water. It is 11 cm high and has a diameter of 10 cm.

French Press Recipe for up to 2 - 3 People
- Pour 500 ml of water into the brewer and bring to a boil. A 500 ml marking inside the coffee press helps with amount calculation.
- Grind 30 grams of coffee fresh with a hand mill. Choose the grind size so that most of the coffee grounds are in the particle range of 700 to 1000.
- Add the grounds to the brewer after it has stopped boiling for about two minutes. At this point, the brewing temperature is perfect for many lighter and roasted filter coffees.
- Stir once so that all the grounds come into contact with the water and now wait 4 minutes.
- After 4 minutes, gently press the plunger down and serve immediately.
Where can you get the Bestargot Camping French Press? Actually, we only found the Bestargot coffee press on Amazon*. If you find other sources, e.g. from your local trekking or outdoor shops, please add them in the comments.

2. The Aeropress - Classic for Outdoor Coffee
The Aeropress is already almost a classic when it comes to making coffee while traveling or on the go. Whether in an airplane, in a train or on a coffee farm - we've made coffee with the Aeropress everywhere. There are even national championships for the Aeropress and a world championship held annually. The Aeropress also owes a large number of delicious brewing recipes to these championships.
In our outdoor coffee video, we recommend a simple recipe that can be completed in 1:40 minutes. What do you need for it? Hot water and ground coffee. Unlike the Bestargot camping plunger pot, the water for the Aeropress must be heated externally. This is one of two disadvantages of the versatile press. The second disadvantage is the amount. If you use the Aeropress with a classic brewing ratio of 6 grams per 100 ml, you'll get a maximum of 200 ml of water and 12 grams of coffee with the Aeropress. It simply won't hold more. However, with the Bypass Aeropress method, a higher brewing amount is possible.
In our recipe, we recommend 14 grams of coffee for 200 ml. The Aeropress is pulled up so that the plunger still stands thumb-width in the Aeropress. With the opening facing up, it is now placed on the scale or on a firm surface and the coffee is added. This is followed by 200 ml of water at around 95 degrees Celsius. We've written a chapter further down in this article about the topic of brewing ratio and water temperature.
Now stir the coffee-water mixture three times so that all the coffee is wetted with water. The filter holder is twisted on with a paper or metal filter (not included in the delivery). The paper filter should always be rinsed beforehand to remove paper taste and to ensure it sticks well in the filter holder.
The filter holder is placed on, the funnel that comes with the Aeropress is attached, and the vessel to be pressed into is also placed on. At about 50 seconds, we turn the whole thing so that the filter holder and the Aeropress stand on the vessel. In the next 50 seconds, the Aeropress is now pressed down without effort, so that with approximately 1:40 total brewing time it has pressed all the liquid through. Two important notes: Never press on the scale! Don't push out the air pocket, but only until the liquid has escaped.
The Aeropress is very break-resistant, light at 380 grams, and invites experimentation. I actually take the Aeropress with me on trips and we've had it in our shop in Germany and Switzerland for a long time. I can wholeheartedly recommend it.
However, I haven't warmed up to the Aeropress Go. This small variant of the Aeropress comes with its own cup. It doesn't provide any added value, quite the opposite. The classic Aeropress is already at the tight limit for me with its brewing volume. And a vessel to brew into can be found almost anywhere. In Switzerland you can find it at Simons Kaffee, in Germany at Playground Coffee and in Austria at kaffeefabrik.

3. Miir Pourigami Brewer
The Miir Pourigami filter takes up the least space of all brewers. At 144 grams, it's also number one in terms of weight. And indeed, the coffee from the Miir dripper is exactly what I expect from a good filter brewer. Classic V60 filter paper works as a paper filter, which we have in our shop (CH, DE), but nowadays is even available on the shelves at coop in Switzerland.
The Miir essentially consists of three metal plates made of stainless 18/8 steel. In principle, the dripper is robust, although my model shows wear at the insertion points after years of use and is also slightly bent.

Miir is a sympathetic company, certified as a B Corp, and operates climate-neutral.
I brewed the Miir dripper with 15 grams of coffee and 250 ml. I added coffee in three pours.
- 50 grams of coffee for the pre-brewing of 25 seconds
- After 25 seconds: pour in circular (triangular) motion to 120 ml
- After 60 seconds: pour to 180 ml
- After 80 - 90 seconds pour to 250 ml
- Brewing time: approx. 2.30 minutes
Again, the notes about roasting and the corresponding water temperature apply here.

When disassembled, the dripper is 6.2 cm high and 12.7 cm wide.
Unfortunately, the availability of the Pourigami dripper from Miir is somewhat limited in the German-speaking region. Miir ships from the United States, Amazon* only has the variant with a cup, and in Switzerland the dripper is currently not available for order. Aromatico in Germany has the Miir in stock.
Water, Grinding and Weighing
Which water is suitable for making coffee
Soft water is best for brewing coffee. When on the go, however, the first priority is that the water is clean. Especially when only rivers and lakes are available as sources, filtration is the most important thing.
A few years ago, water ruined my tour plans. I was kayaking along the Rhine from Basel to Koblenz. Eventually I ran out of water. It's hard to believe, but even the Rhine passes through quiet sections where there's no water nearby or even a place to land the kayak. Back then I made the mistake of drinking water from the Rhine and I regretted that unpleasantly...

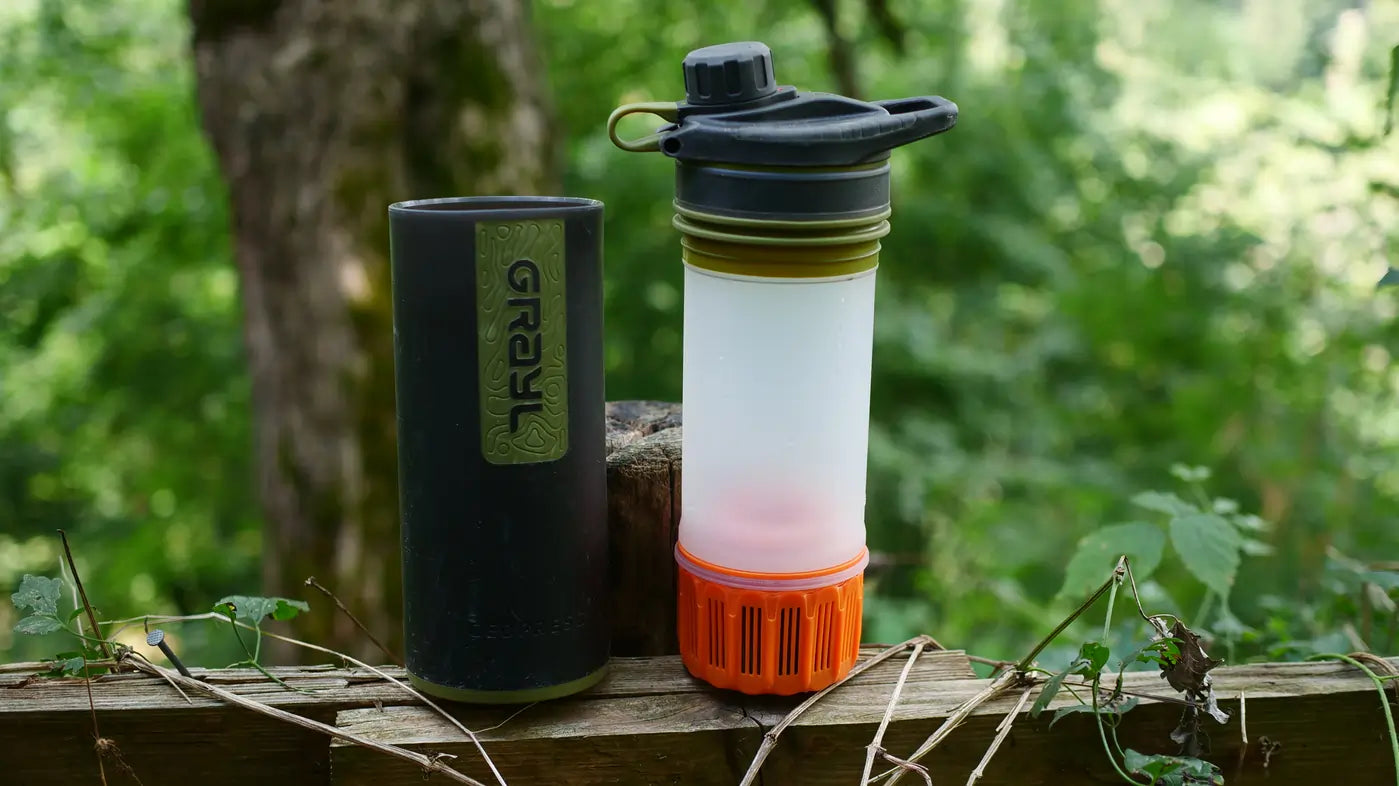
On my tour this year, I was prepared with the water filter from Grayl. I filtered the water directly from the Aare with the filter and used it to make coffee. And not only that. I consistently drank the water from the bottle throughout the trip. There were no effects on my digestion etc.
According to the manufacturer, the filter removes 99.99% of all viruses and bacteria from the water, as well as protozoa, microplastic and sediment particles, chemicals, and heavy metals. Pretty cool. Maybe I should also filter the coffee from the plunger pot through it. :)
What the filter can't do: it doesn't make brackish water taste good. So check where you're getting your water from, because bad-tasting water won't taste good even after filtering.
You can get the filter directly from grayl, in Switzerland from bergzeit, in Germany and the EU from Amazon*.
Water hardness is a problem
The filter has no effect on water hardness, at least the manufacturer provides no information about it. I'll test this myself in the next few days. Soft water makes noticeably and palpably better coffee for everyone! While traveling and on trips, compromises are sometimes necessary, but there are some tricks that can help you find soft water.
Water that mainly stays on the surface and hasn't been traveling for many years from the rain stage through groundwater is softer. This includes, for example, water from lakes and rivers. Especially if these rivers have a high proportion of meltwater. If water travels as groundwater past many stones, it becomes increasingly enriched with salts. In particular, magnesium and calcium, as hardness-forming agents, have a major influence on coffee taste with their counterpart alkalinity. So: use river or lake water! Two good alternatives are rainwater and snow. Both have a low pH and are suitable for brewing filter coffee, and can sometimes even be mixed with other water to avoid being too soft.
The ideal water hardness for filter coffee is around 3° German hardness total hardness and corresponding alkalinity of 1 - 2° German hardness. More on this in our detailed coffee water article.

How do I make coffee without electricity?
Hot water is the prerequisite for brewing coffee at the right temperature. However, electricity is not necessary for this, just the most convenient way.
On trips, trekking tours, or while camping, there are many nice ways to heat water. From fire to gas stove or spirit burner - heating water takes some time, but is almost always manageable.
A great option is also a small camping stove that spreads the flames less than a fire. On the kayak tour we used a gas stove, of which there are now numerous small and practical models in the trekking area.
For day trips, consider bringing hot water in a thermos flask. Good thermos flasks keep the brewing water above 90° Celsius for many hours and thus in the range of a good brewing temperature.
If no flint steel, gas stove, or lighter is available, this might be the opportunity to try a cold brew. We have put together a basic recipe for "cold coffee" as well as many variations with other ingredients here.
What water temperature for making coffee?
We've gotten used to the wording "making coffee" in the German language. However, the coffee should never be boiled. However, boiling the brewing water is a good indication of when the right water temperature has been reached. Additionally, boiling water for several minutes kills viruses, bacteria, and parasites in the water. This is recommended if water comes from lakes or rivers and no water filter is used.
Starting from boiling, you should wait different amounts of time depending on which coffee you use and what roast level it is. Filter coffees from specialty coffee roasters are usually roasted lighter. These coffees are very complex, have little bitterness, and can easily be brewed at very high temperatures. Temperatures of 94° to 98° Celsius work well. Such coffees are roasted by us, but also by the top-ranked roasteries in the filter coffee competition Kaffee-Panel.
Coffees from the supermarket and from many traditional roasteries are roasted darker. These coffees already have a pronounced bitterness of their own. Since higher temperatures promote bitterness, high brewing temperatures should be avoided. Temperatures around 90° Celsius are the best choice here. So after boiling the water, you should wait longer. Depending on the size, opening of the pot, and outside temperature, boiling water cools to about 90 degrees in 3 - 5 minutes.
To our Swiss shop. We ship to Germany and Austria and the EU from this page.
Can you cook coffee in a pot?
There's a pot in every vacation rental and camper van. In colloquial terms, we also say that we make coffee. So is a pot the right place to prepare it? The coffee in the pot should not be "cooked". However, the pot can be used to make good coffee.
However, coffee should not be exposed to boiling water or boiled for longer, otherwise the coffee's own bitterness will be strongly triggered and overpower the fine flavor notes of the coffee.
Instead, the pot should be used to boil the water. Afterwards, the coffee can be poured into a cup or pot. To do this, use coffee in a ratio of 1:16.6. This corresponds to 6 grams of coffee per 100 ml of water.
The coffee is now placed in the cup and then the water is poured over it. After 4 minutes, the crust should be broken with a spoon and then skimmed off. Part of the coffee now rests on the bottom of the cup. However, if you drink carefully, you'll have brewed a delicious, full-bodied coffee this way. Professional coffee tasters pour their coffee this way. However, they don't drink directly from the cup afterwards, but instead skim the coffee with the so-called cupping spoon without stirring up particles.

How much coffee for how much water?
60 grams of coffee per 1 liter of water is the golden recipe for all filter coffee methods. With this brewing ratio, we can best achieve the perfect balance between coffee strength and coffee bean extraction.
In an article about preparing filter coffee I'll go into more detail about this interaction. But how do you determine the correct proportions while on the go? This is also why I liked the coffee maker from Bestargot. The amount markings inside already ensure that the water amount is correct. So all that remains is to weigh or measure the amount of coffee accordingly.
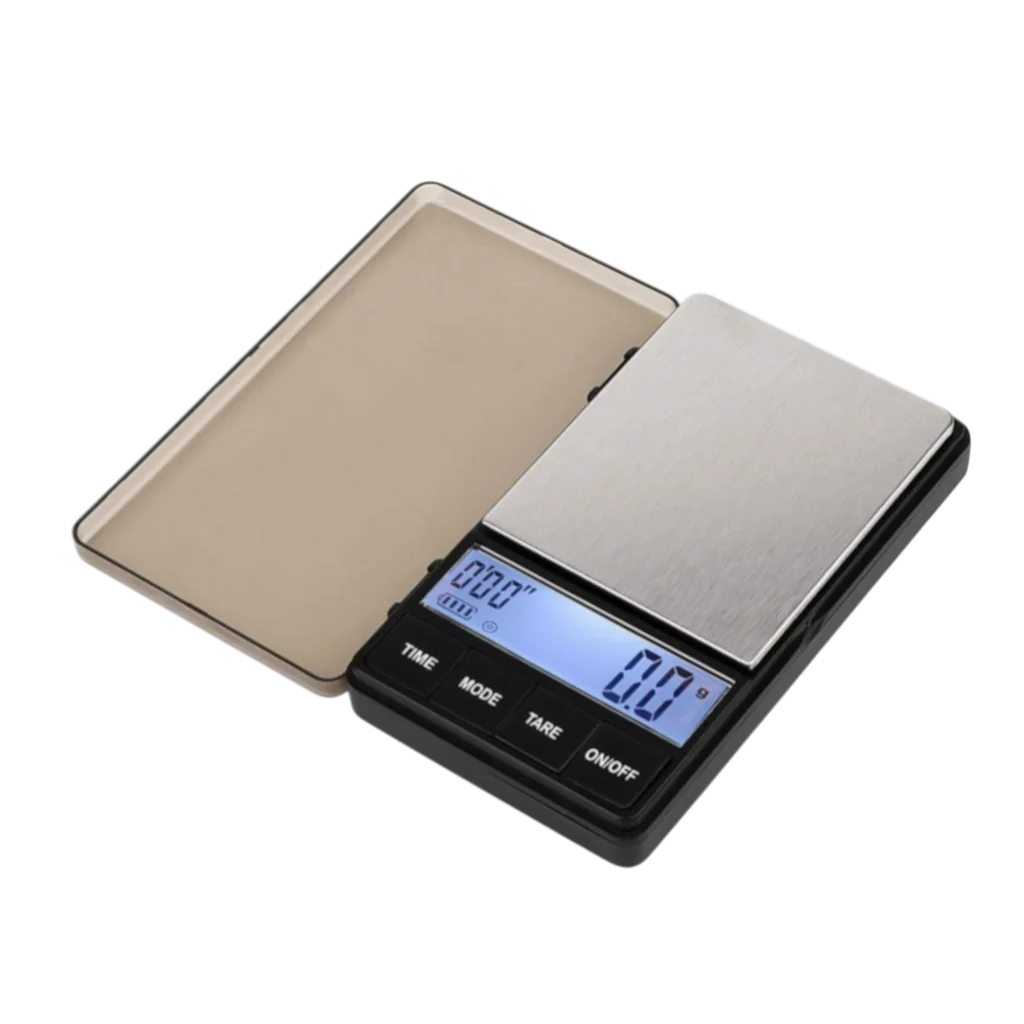
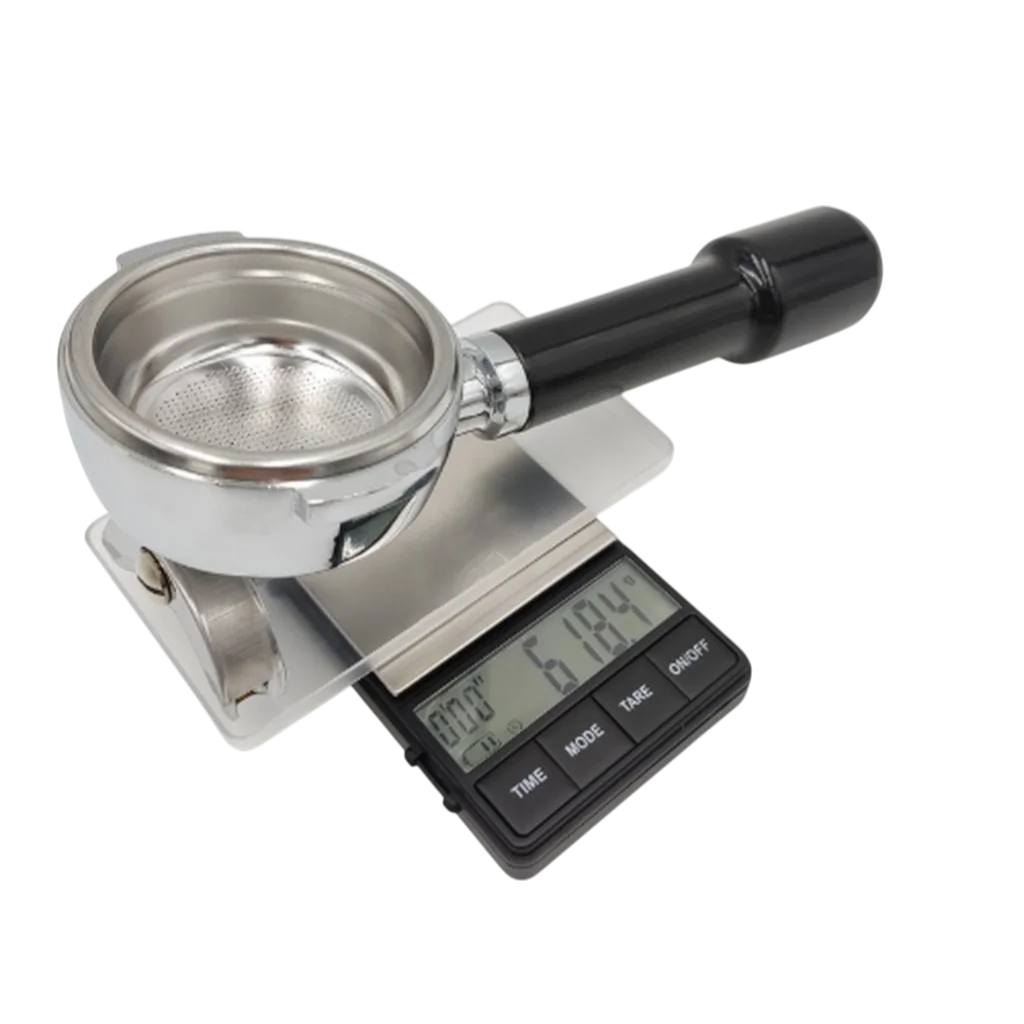
On my trip, I had a small scale with me. In the video I use the Timemore Nano and the coffee scale from Edo.

For shorter trips, dosing coffee into durable and waterproof tubes* is an alternative. These hold almost exactly 18 grams of coffee and are therefore perfect for 300 ml of water. Since coffee in a bag gets damp quickly on trips anyway, transferring it to tubes isn't the worst solution.
Coffee scales in our shop:
- EDO Coffee Scale: DE and EU, Switzerland
- Timemore Nano: DE and EU, Switzerland
Fresh grinding with a hand mill
The counterpart to good coffee, the right brewing ratio, decent water, and of course a good filter brewer is the hand mill. The hand mill draws out the most important thing from coffee: complex aromas, flavor variety, and freshness.
Coffee protects itself (to some extent) as long as it remains in the whole bean. With grinding, the surface of the coffee is enlarged by the multitude of coffee particles. These now each react individually with oxygen and light and accelerate the aging and oxidation of the coffee. The volatile aromas of the coffee dissipate quickly. Just 30 minutes after grinding, we were able to detect significant taste changes in the coffee in a panel with untrained consumers.

This is why fresh grinding of coffee is an important prerequisite to get everything out of the coffee bean that is inherent in it. At the same time, a hand mill fits very well in a travel bag. There are numerous good hand mills on the market. In our video, we used the new Comandante x25 Trailmaster, which wasn't really on the market yet at the time the video was released. It was specifically designed by Comandante for outdoor use and is even briefly waterproof. Comandante is a German company and is always a good choice in terms of quality with its high-priced mills.
We looked at cheaper hand mills in a comparative test of 14 hand mills under 100 euros (which, however, needs an update because some of these mills are no longer on the market).
Also compact and travel-friendly: the classic espresso maker (moka pot). It only needs a heat source – whether gas stove, spirit burner, or camping fire. With 12 grams of coffee for about 120 ml of water, it delivers a strong, dense coffee that requires hardly any extra effort while on the go. The only drawback: the aluminum construction is more sensitive than titanium brewers like the Bestargot. For basecamp use and motorhome trips, however, it's a proven choice.
Other Outdoor and Camping Brewers
There are very many good coffee brewers that can also be used while traveling, camping, on trekking tours, or during bushcraft. In the video, the following brewers are also mentioned:
- Cafflano Go-Brew bottle: e.g. at Enjoy your Bike, Öko-Kapseln.de, Handcraft Coffee
- Sea to Summit X-Brew Coffee Dripper: Transa (CH), Sea to Summit, Berg-Freund.ch, Amazon*, naturzeit
- Coffee Dribbler: currently not found anywhere.
- Flair pro: To the Flair test, Flair, Amazon*
- Yellow Campo Libre cup: Amazon*
* Links marked with an asterisk are affiliate links. If you order through this link, it won't cost you any more, but we receive a small commission. This helps us acquire new equipment to test.