




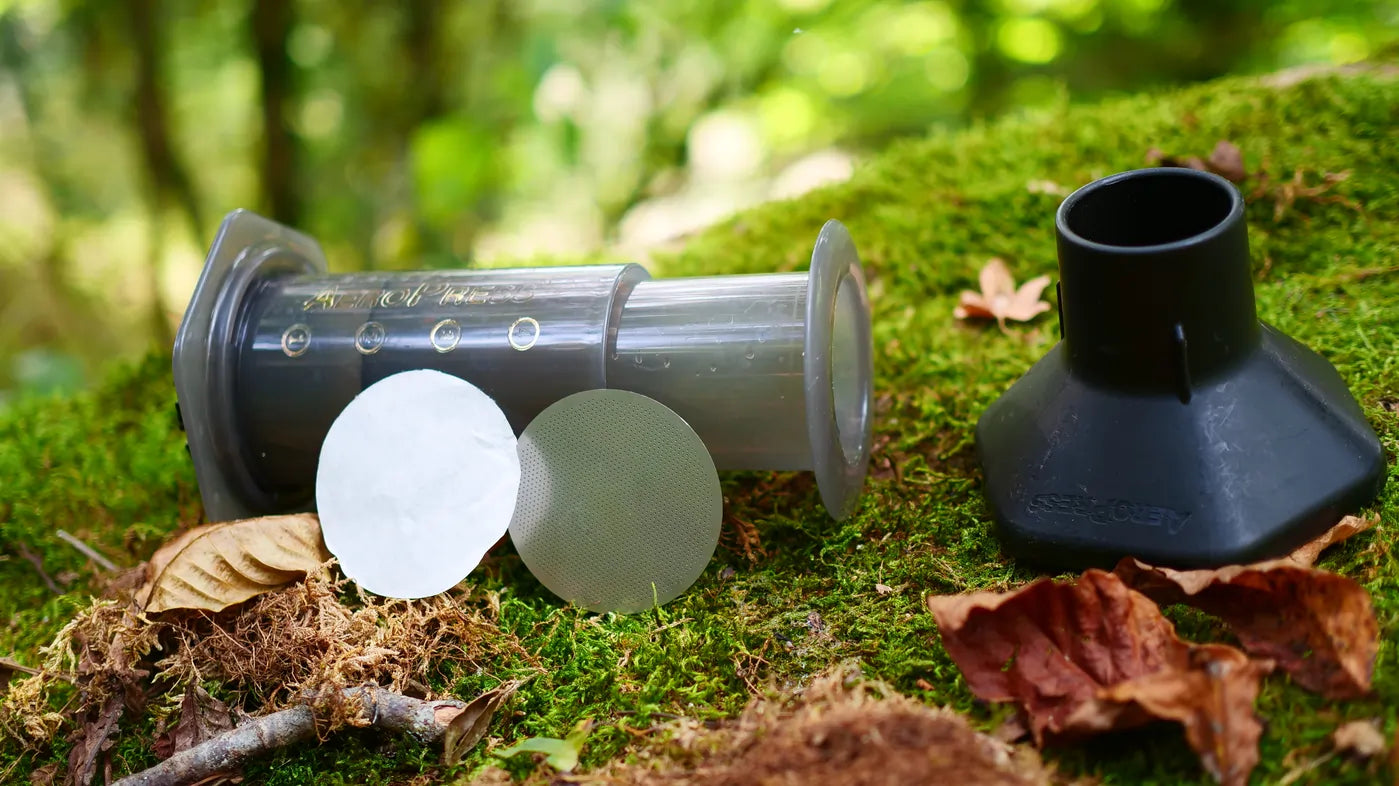

The AeroPress is a multifunctional coffee brewer that lets you brew coffee in pretty much any situation. Whether on a kayak, on long bikepacking tours, on an airplane, or on a train – I've brewed coffee with the AeroPress everywhere. It's compact, robust, inexpensive, and yet capable of producing one of the best filter coffees you've ever tasted. Or one of the worst, if you don't know the ground rules.
The AeroPress sits on the shelf of every coffee enthusiast. One of them is my brother href="/en/blogs/kaffeewissen/frenchpress"Felix Hohlmann, German Barista Champion 2024 and 2026 and Swiss AeroPress Champion 2016.
Over the years, together we've developed numerous recipes and were among the first to use the AeroPress bypass method – which today is the gold standard at all AeroPress championships. Together with Felix, we've documented everything you need to know about the AeroPress to brew really good coffee with the most versatile of all brewing methods.
What is the AeroPress and why is it so popular?
The AeroPress was invented in 2005 by Alan Adler, the man behind the Aerobie Frisbee. He apparently had good materials on hand that were also suitable for a filter coffee method.
Adler probably didn't really know what he'd invented. In any case, the first recipes that came with the AeroPress as recommendations were far from the potential of the little brewer.
The device combines pressure extraction with the classic immersion method: coffee grounds are steeped in hot water and then pressed through a filter. The result, depending on the brewing ratio, is a concentrated, smooth coffee without sediment, provided you use a paper filter.
What sets the AeroPress apart from the href="/en/blogs/kaffeewissen/cold-brew-rezepte-gemixt-und-ungemixt"French Press or filter coffee: it's incredibly variable. This became especially clear when resourceful coffee enthusiasts started developing recipes and new brewing approaches. More concentrated methods, href="/en/products/aeropress-das-original-inkl-100-filter"cold brew recipes, bypass methods with different parameters were tested. Grind size, temperature, brew time, and ratio can all be adjusted freely. That's exactly its strength and, at the same time, its challenge.
The experimental community even founded an official AeroPress World Championship, where hundreds of recipes are submitted every year. What's also part of the story: we brought the first AeroPress championship to Switzerland in 2014.
What do I need for the AeroPress?
The equipment list is short:
- The href="/en/blogs/kaffeewissen/kaffee-unterwegs-outdoor"AeroPress (Original or href="/en/blogs/kaffeewissen/handmuhlen-guide"AeroPress Go for on the go)
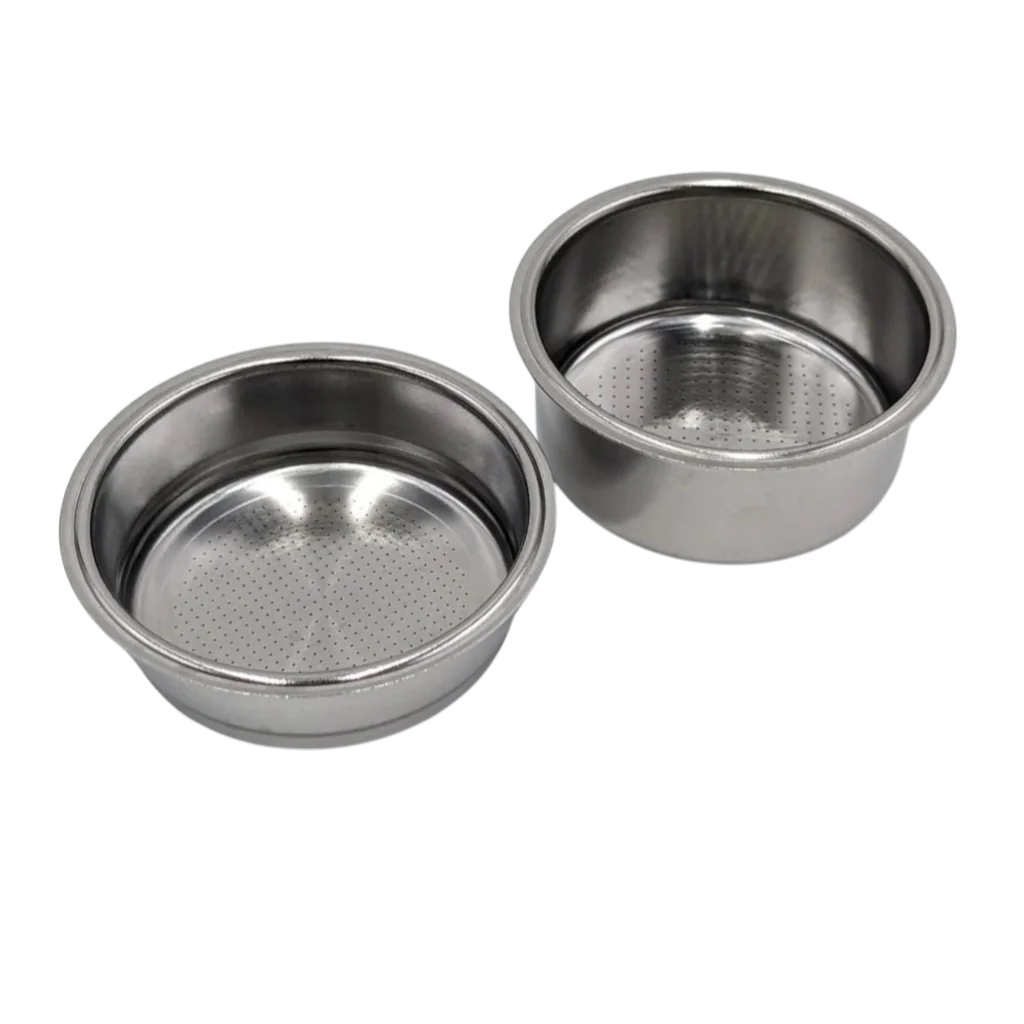
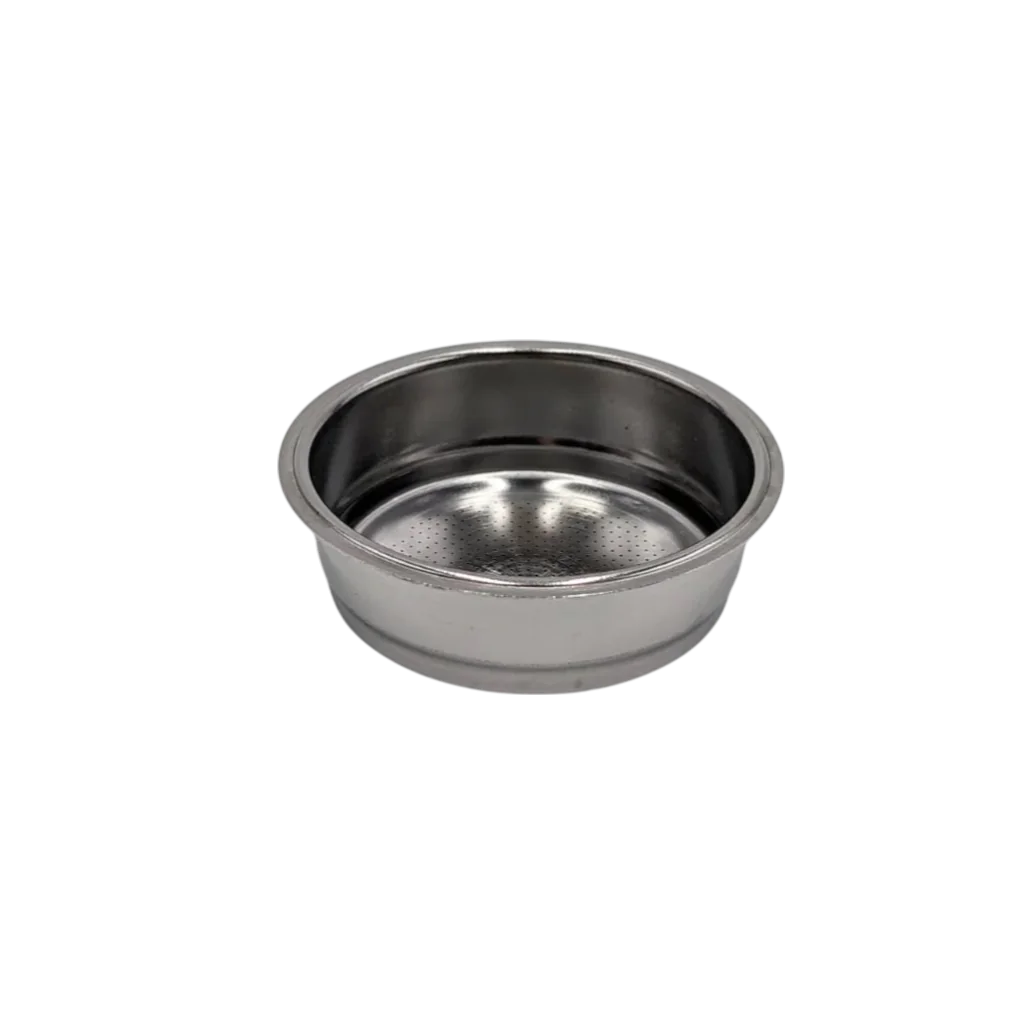
- Paper or metal filters (we generally recommend paper filters because they produce clearer and better-tasting coffee)
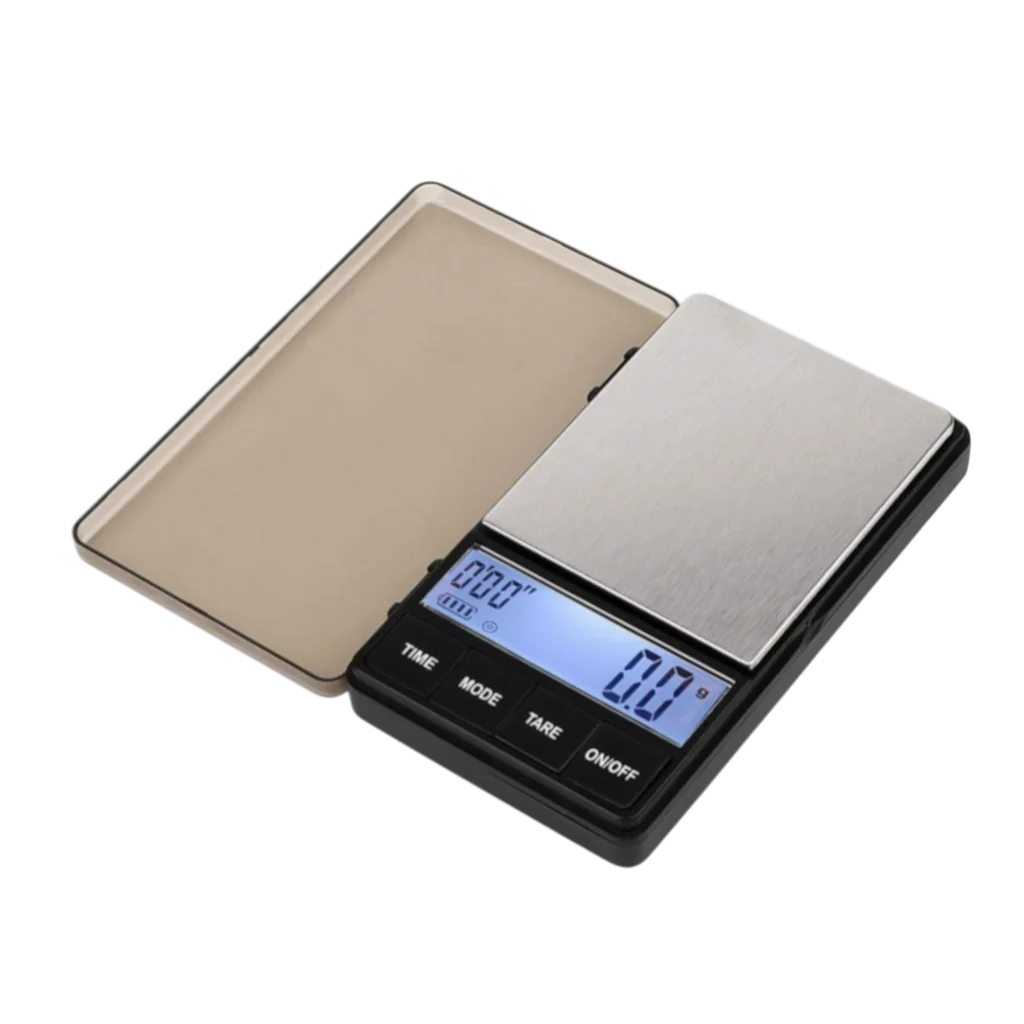
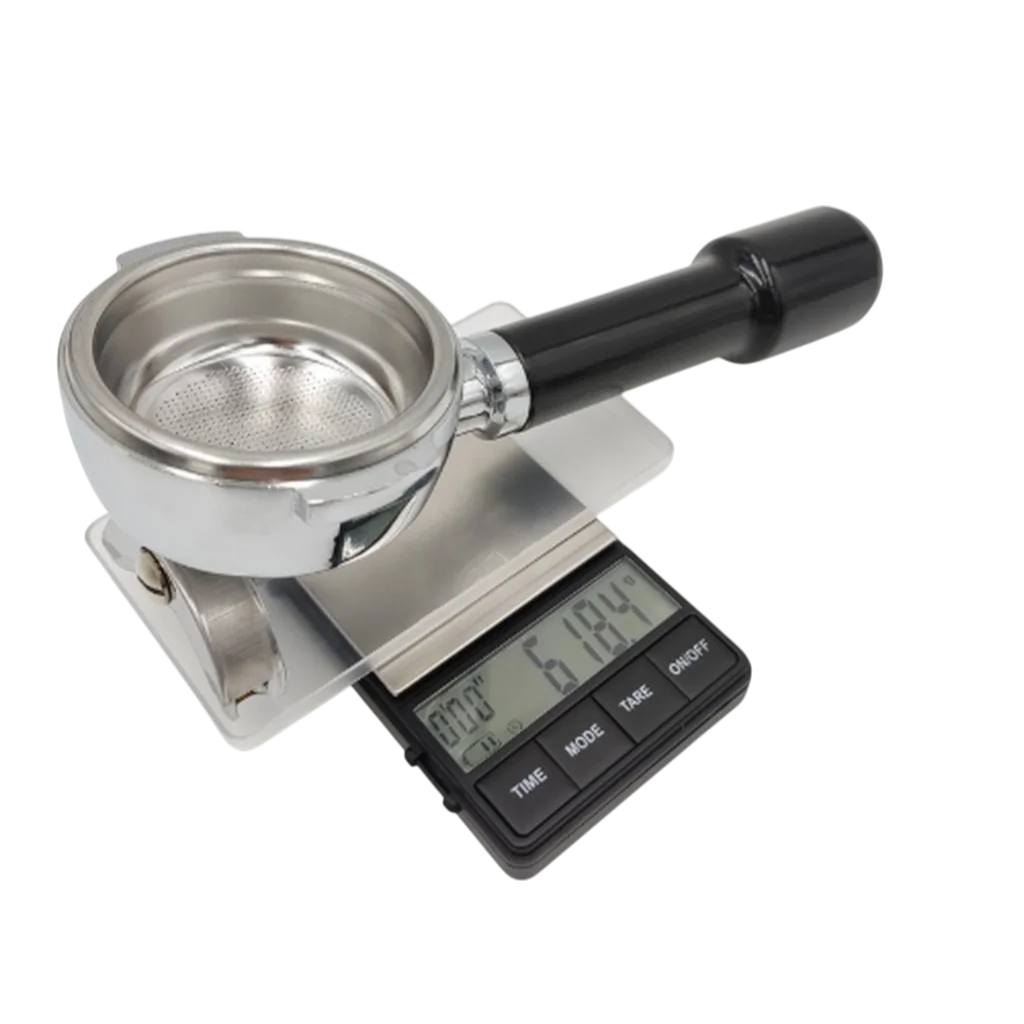
- A fine scale that measures to 0.1 g accuracy
- A kettle with temperature control
- Freshly ground coffee or a good href="/en/blogs/kaffeewissen/handmuhlen-guide"grinder
If you don't have a grinder yet, it's worth checking out our src="https://cdn.shopify.com/s/files/1/0787/3577/files/aeropress-standard.webp?v=1781166058"hand grinders. Single-dosing grinders are also a good choice.

The AeroPress Standard Recipe Step by Step (Regular)
This recipe works reliably with light to medium roasts and gives you a solid starting point for all further experiments. Felix recommends filter coffee roasts and a medium grind: "With more stirring agitation, extraction can be increased, even if the grind is a bit too coarse."

The Inverted Method: More Control, More Body
The inverted method (upside-down method) is popular in competition circles, and for good reason. You place the AeroPress upside down on the plunger, fill it, and flip it onto the cup only shortly before pressing. This prevents coffee from running through uncontrollably during the steeping time and gives you more leeway with extraction time. Felix on this: "The inverted method gives me more control. I can decide when to work with the immersion technique – and when to press the coffee through the filter with pressure."
The Bypass Method: Felix's Championship Recipe
The bypass method is the favorite technique among world champions. The idea behind it: you first brew a strong concentrate with little water, then dilute it in a second step with hot water. This works so well because you can work much more precisely during extraction – and the dilution afterward lets you fine-tune temperature and strength.
Felix developed this recipe in 2016 for the Swiss AeroPress Championship and has used it in several competitions since, including the Open Service at the Swiss Championship in the Brewers Cup.
"With this recipe, you get the coffee to 90% of its potential. If someone has a href="https://worldaeropresschampionship.com/pages/recipes"V60 recipe and nails it perfectly, you can extract more. But in the time it takes, this is really a game-changer."
What the World Championship Shows: Bypass is Standard
Looking at the winning recipes from the href="https://worldaeropresschampionship.com/pages/recipes"World AeroPress Championship, a pattern stands out: inverted + bypass has dominated for years. And the doses are significantly higher than what hobbyists know. 18 g of coffee is world champion standard, not 12 or 13 g.
Since 2019, practically every finalist has used the inverted method followed by bypass. The winning recipes from 2023, 2024, and 2025: all inverted, 18 g, bypass. Complete recipes are documented on href="/en/products/aeropress-xl"worldaeropresschampionship.com/pages/recipes.
Carlo Graf Bülow developed this recipe specifically for the href="/en/blogs/kaffeewissen/frenchpress"AeroPress XL. It scales the bypass method to a full 500 ml. The AeroPress XL is interesting because it eliminates one of the small AeroPress's biggest weaknesses: not enough coffee for multiple people. With the AeroPress XL, we can make the whole family or friends on long bike tours equally happy with coffee.
Which Grind Size for the AeroPress?
Grind size is the parameter most beginners get wrong first. Too coarse and the coffee tastes watery and sour. Too fine and the puck clogs, pressing becomes a strength exercise, and the coffee becomes bitter.
As a starting point for most recipes: medium-fine grind, roughly comparable to household sugar. Finer than href="/en/blogs/kaffeewissen/handmuhlen-guide"French Press, coarser than espresso. For the bypass method, Felix recommends a significantly coarser grind, comparable to cupping – and relies on temperature and agitation to control extraction. Freshly ground is always a must: pre-ground coffee sold in stores ages quickly, and you'll notice the difference after a few days. A good href="/en/blogs/kaffeewissen/cold-brew-rezepte-gemixt-und-ungemixt"hand grinder pairs perfectly with the AeroPress.
| Grind Size | Comparison | Cup Result | When to Use? |
|---|---|---|---|
| Very fine | Flour | Bitter, over-extracted, hard to press | Never. |
| Fine | Fine sand | Intense, smooth, slightly bitter if too long | Short brew times under 1 minute |
| Medium-fine | Household sugar | Balanced, sweet, clean finish | Standard recipe, inverted: the sweet spot |
| Medium | Coarse salt | Light body, acid-forward | Light roasts, longer steeping times |
| Coarse (Cupping) | Fine sea salt | Concentrated, smooth, suitable for bypass | Bypass method, href="/en/blogs/kaffeewissen/cold-brew-rezepte-gemixt-und-ungemixt"cold brew |
Water Temperature: Hotter for Light Roasts, Cooler for Dark
90 °C is a good starting point, but not optimal for every roast. The basic rule: light-roasted coffee needs higher temperatures to extract the harder-to-dissolve notes and reach the full potential of a coffee. Dark-roasted coffee extracts faster and becomes easily bitter with high temperatures. With lighter roasts, we go above 95 °C; with darker roasts, we stay in the 90–93 °C range. Felix sums it up: "The tongue is the best refractometer. If the coffee tastes good, then it tastes good."
| Roast Level | Recommended Temperature | Characteristics |
|---|---|---|
| Light (Light Roast) | 94–97 °C | Fruity, complex, high extraction necessary and worthwhile |
| Medium (Medium Roast) | 88–93 °C | Balanced, caramelized notes |
| Dark (Dark Roast) | 82–88 °C | Robust, chocolatey (slightly bitter at too high temperatures) |
Most recipes work with 90–93 °C as a compromise. With the bypass method, you can fine-tune the target temperature using the bypass water temperature. The AeroPress also works very well for href="/en/blogs/kaffeewissen/frenchpress"cold brew – agitation through stirring enhances extraction.
AeroPress vs. French Press: When Which?
The two devices are often compared, but work fundamentally differently. The href="/en/blogs/kaffeewissen/kaffee-unterwegs-outdoor"French Press is pure immersion extraction without the pressure component, with a metal sieve instead of paper. That produces more body, more oils in the cup, but also more sediment.
| AeroPress | French Press | |
|---|---|---|
| Filter Type | Paper or metal | Metal (sieve) |
| Sediment | None (with paper filter) | Always present |
| Body | Light to medium | Full, oily |
| Coffee Oils | Largely filtered out | Entirely in the cup |
| Brew Time | 1–3 minutes | 4–5 minutes |
| Amount | 1–3 cups | 2–8 cups |
| Variability | Very high | Low |
| Travel | Ideal (href="/en/blogs/kaffeewissen/frenchpress"AeroPress Go) | Break risk with glass; other variants now available |
In short: if you want clarity, complexity, and control, choose the AeroPress. If you want a robust, "honest" coffee for multiple people, the src="https://cdn.shopify.com/s/files/1/0787/3577/files/aeropress-standard-set.webp?v=1781166057"French Press is better. Both have their place. It's not an either-or decision.
Common Mistakes and How to Avoid Them
The coffee tastes sour and watery. Classic under-extraction problem. Either the grind is too coarse, the temperature too low, or the brew time too short. First, make the grind finer, then increase the temperature.
The coffee tastes bitter. Over-extraction. Make the grind coarser, lower the temperature, or shorten the brew time. Pressing too long or too hard can also extract bitter compounds from the puck.
Pressing is hard. The grind is too fine. Set the grind coarser.
The AeroPress drains before you press. This happens with the classic method if the grind is too coarse. Either make the grind finer, or switch to the inverted method, which prevents this problem by design.
The coffee cools too quickly. The AeroPress chamber is plastic; rinsing with hot water helps. But the cup directly underneath is crucial. Pre-warmed cups make a measurable difference here.
Conclusion: Small, Versatile, Forgiving
The AeroPress is cheaper than most grinders, fits in every travel bag, and with the right recipe produces one of the best filter coffees you can brew at home. It almost always tastes solid – and with our tips, you'll get a lot out of every coffee.
Our tip for getting started: Keep the standard recipe consistent for a while, then change only one parameter at a time. Anyone who practices regularly with the AeroPress like Felix Hohlmann will quickly notice that the learning curve is steep, but the result is worth it.
You'll find the next step in our shop: we have the href="/en/products/aeropress-xl"AeroPress and the href="/en/products/amigo-filterkaffee"AeroPress XL as well as a selection of coffees that work particularly well with the AeroPress. From fruity natural coffees to washed Ethiopians. Our coffees are seasonal. A very good starting point is our filter coffee blend §25§"Amigo" – developed to be easy to brew and taste smooth, full, and balanced in the cup.