



Filter Coffee Preparation – Instructions for Delicious Coffee
 Benjamin Hohlmann
Making pour-over coffee is simple when you follow a few basic rules. The amount of coffee grounds per cup of coffee is just as important as the water temperature and the freshness of the coffee. In this guide, we explain everything you need to know to make great pour-over coffee. At the end of the article, we walk through the brewing process step by step and illustrate it with pictures and videos.
With the right technique, it's very easy to make really good pour-over coffee. At the same time, there's no cheaper way to brew coffee.
For anyone who has little or no experience with pour-over coffee. This article will give you a very solid foundation.
Reading time: 14 minutes
Author: The author of this article was Swiss pour-over coffee champion in 2014, 12th at the World Championship in the Brewers Cup, and three-time Swiss runner-up in the Brewers Cup.
How much coffee grounds per cup?
Getting the right amount of coffee per cup is crucial to how your coffee tastes. However, since cup sizes vary widely, measuring coffee by the cup is not particularly reliable for consistently making delicious coffee.
We recommend about 6 grams of coffee per 100 ml of brewing water. You can scale this up or down as needed. If you brew with 300 ml of hot water, the coffee amount should be about 18 grams. Per liter, that works out to around 60 grams of coffee grounds. Why this ratio works and how it changes with espresso and French press is explained in our article on coffee dosage per cup.
If the coffee tastes too strong with this brewing ratio, brew with 5 grams of coffee per 100 ml. If the coffee is too weak, increase to 7 grams of coffee per 100 ml. Based on our experience, this range is where Central Europeans prefer their coffee.
A typical coffee cup holds about 150 ml of water. By the logic above, 9 grams of coffee would be the right amount. This method of making coffee of course requires a scale. If you have a kitchen scale handy, measuring the amount is quick. If constantly measuring feels tedious, you can measure once how much water your cup holds and how much coffee grounds fit in a heaping teaspoon. But measuring regularly removes the guesswork about whether the coffee will taste as good as it did last time.

What temperature should I use for brewing?
The perfect brewing temperature is about 92 to 94 degrees Celsius. Unfortunately, many pour-over coffee makers can't be adjusted. This is one reason why hand-brewed coffee often tastes better. The temperature is easy to achieve by bringing water to a boil in a kettle. After about 2 minutes, it cools to the desired brewing temperature of 92 to 94 degrees.
This temperature is a guideline that generally works well for quality pour-over roasts. At this temperature, they taste neither too bitter nor too sour—in other words, they're "balanced." That's exactly what makes good pour-over coffee.
Lighter roasts can easily be brewed at higher temperatures. At the World Championship in pour-over brewing, for example, I brewed a light roasted Kenyan coffee at 98 degrees Celsius. The coffee's balance was still intact, and at the same time, the full complexity of the bean came through in the cup.
Darker roasts are already somewhat bitter from the roasting itself. Lower brewing temperatures work better here. High temperatures only amplify the bitterness further. We recommend brewing temperatures of 88 to 92 degrees—about 3 to 4 minutes after boiling the water.
You don't need heat at all for Cold Brew, where coffee steeps in cold water for hours. That creates a completely different beverage, and the grind size is also chosen differently.
Online you'll often see headlines like "Make pour-over coffee," "How to make pour-over coffee," and "How to brew pour-over coffee." We can't recommend that! Boiling coffee creates strong bitterness and not delicious coffee. That's why we talk about brewing pour-over coffee.
How long should the hot water stay in contact with the coffee?
The best brewing time depends heavily on the amount of coffee grounds and water used, the brewing method, and the roast. If you're brewing 200 to 300 ml of water, I recommend a brewing time between 2 and 3 minutes. For every 100 ml, you can extend the brewing time by 30 seconds. Above about 800 ml, different rules apply!
These guidelines can help you dial in your brewing. Dialing in is the key word here. Just as with espresso preparation, with most pour-over methods (called "pour over" or "drip methods" in English), you control the brewing time by adjusting the grind size. The finer the grind, the greater the resistance to water, and the longer the brewing time.
With electronic pour-over machines, your adjustment options are limited. When brewing by hand, you can adjust the brewing speed by pouring the water more slowly or quickly.
With all brewing methods, it's ideal if most of the coffee and the water you're using stay in contact throughout the entire brewing time. For example, if you pour quickly at the start, some of the coffee grounds will stick to the upper edge of the filter and will be hard to rewet. This portion of coffee grounds gets less extracted than the rest. These particles are "high and dry" (a common term in coffee jargon), and they don't contribute anything to the coffee's flavor in the cup. Since the coffee amount was calibrated to the water, the taste result in your cup might not be perfect.
To dial in pour-over machines perfectly, calculating the brew cycle is practical. You run a complete brewing cycle without coffee grounds to measure the actual drip time. Getting the most out of a pour-over machine will be the topic of another article.
The coffee grinder is the key to good coffee

The chapter on brewing time already shows how important the coffee grinder is. Only if you can grind the coffee yourself will you be able to control the brewing time by adjusting the grind size. Of course, coffee can also be ground at the roaster's or in a supermarket. But that grinder likely had other, coarser coffee in it at best, and at worst, grain or pepper.
Buying pre-ground coffee is also not an option. The grind size isn't set correctly. Plus, coffee loses quality with every second after grinding. The whole bean is, in its unground form, a kind of protective layer for the coffee. Air only reaches the surface and only reacts with that. Once coffee is ground, the surface area multiplies a thousandfold. Reaction with oxygen and light begins immediately at every cut and break point. Volatile flavors escape from the coffee. At the same time, an oxidation process begins that you'll taste very quickly.
Even beginners taking our sensory courses notice the off-flavor of "old coffee" just two hours after grinding. Coffee first loses complexity and then takes on a rancid taste.
With the grinder, aim for a medium grind size. The coffee should feel about like fine polenta. The brewing water shouldn't pass through the coffee any faster or slower than in roughly the time specified above.
What equipment makes sense?
Pour-over coffee is such a popular method because it's so simple and quick for anyone to master. You also don't need an enormous budget. In many countries, pour-over coffee is brewed in cloth filters that resemble socks or pantyhose. There are basically no limits to your own experimentation. A classic filter from manufacturers like Melitta, Hario, or Kalita doesn't cost much and works excellently. Inexpensive pour-over machines are also available for well under 120 CHF.
However, I would always recommend a hand filter in this price range and spending more on the machine. The main problem with cheap pour-over machines is that they don't precisely maintain the brewing temperature. The second and even more important issue is water distribution over the coffee bed. Nearly all cheap pour-over machines drip onto the same spot.
That's a problem! Especially at this spot, "turbulence" occurs—swirling between water and coffee. This spot gets washed out particularly strongly. This leads to over-extraction at that spot and results in bitterness. Meanwhile, the rest of the coffee grounds don't get wet enough and can't deliver its delicious potential into the cup.

A hand filter is better!
That's why I recommend: brew with a hand filter. It brings you closer to the coffee and lets you really learn how to make pour-over coffee. How this works in detail with the most commonly used hand filter is in our Hario V60 guide. If you prefer working with pressure or brewing coffee on the go, you'll find the right method in the AeroPress guide, and if you need multiple cups at once, the French Press is a good choice.
If you prefer stronger coffee, something between pour-over and espresso, you'll find a cheap and straightforward option in the Moka pot. It brews with a TDS of 3 to 4%, significantly stronger than pour-over, but requires neither electricity nor special equipment.
I also recommend a simple grinder. A hand grinder is perfectly suited. If you enjoy coffee brewing and want to make coffee for groups or the office too, an electric grinder is the better choice.
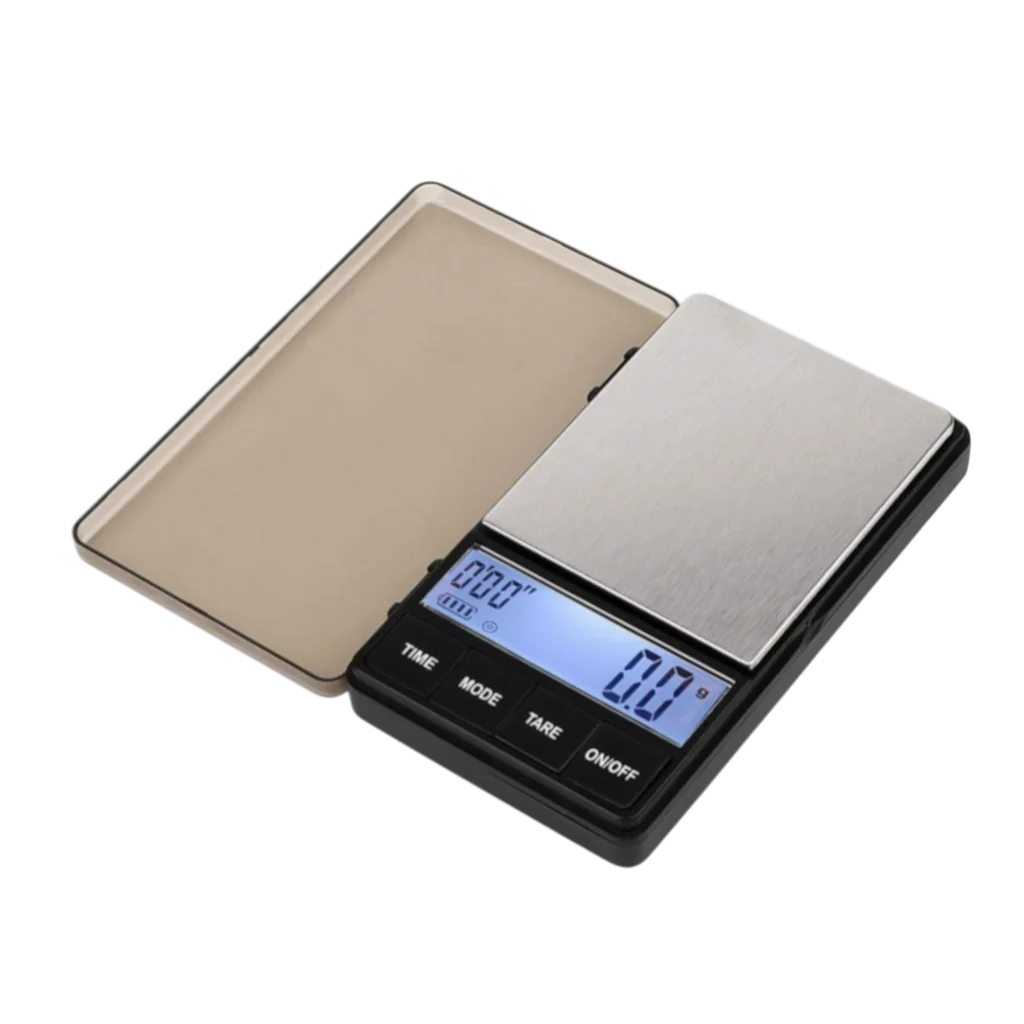
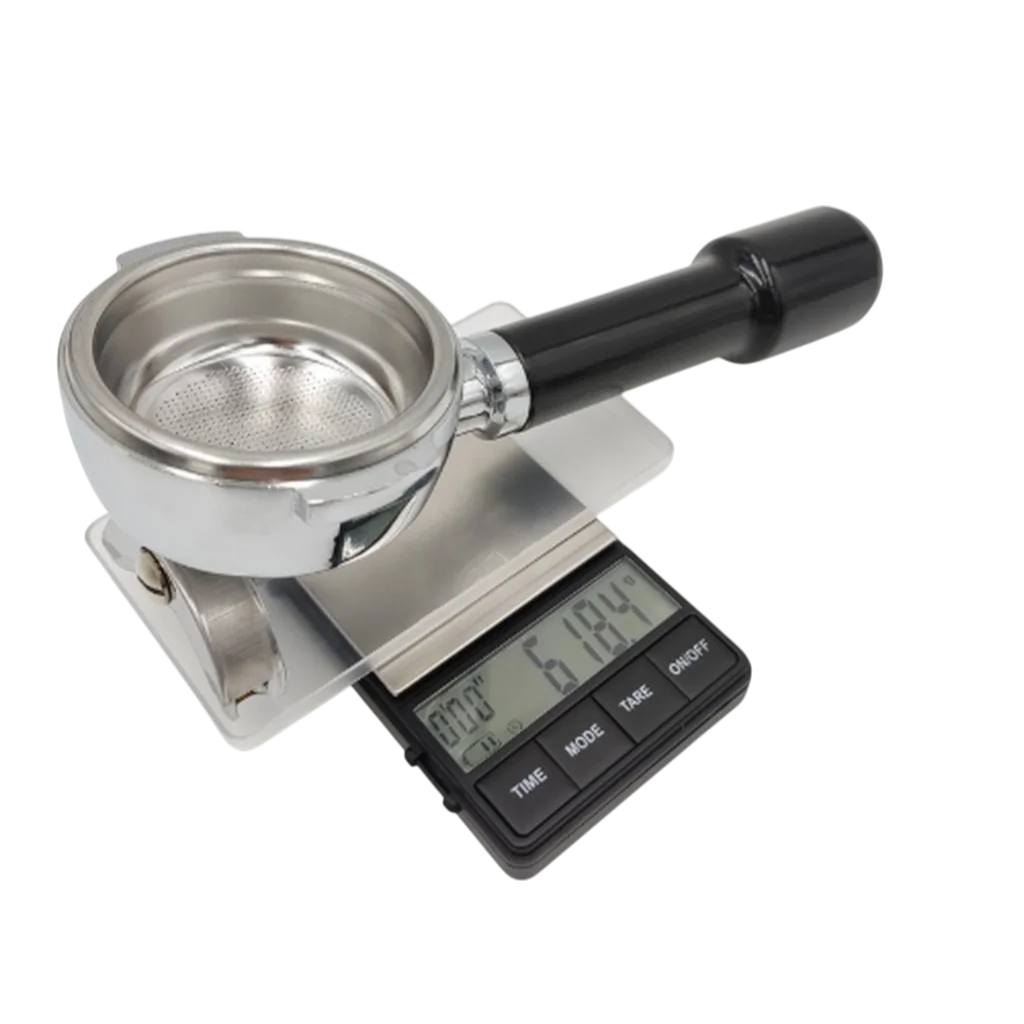
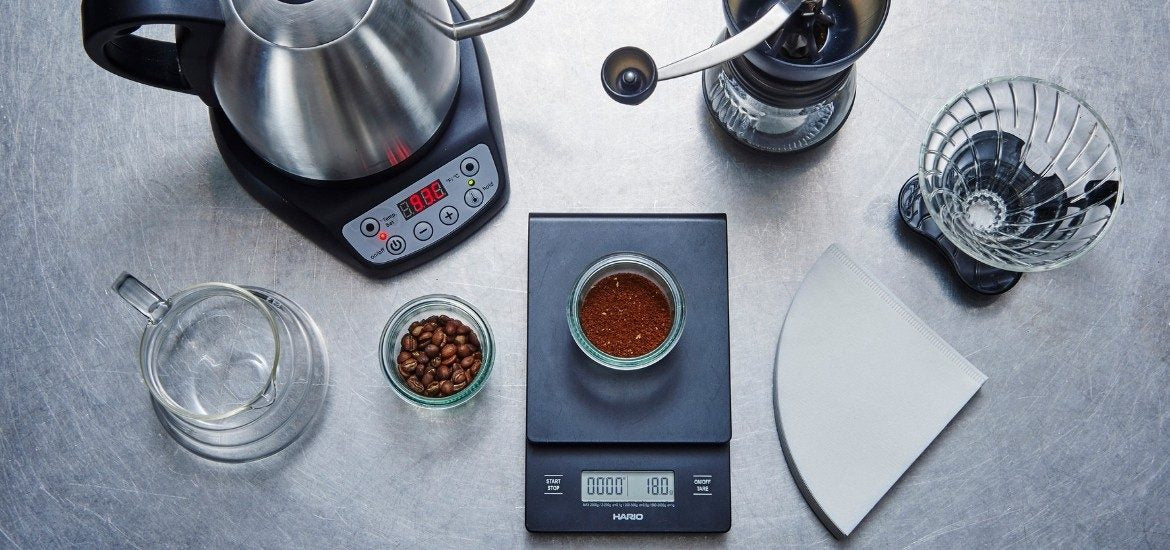
Your equipment is complete with a scale and can then be expanded as desired. The scale helps you measure the water and coffee amounts. Any postal or kitchen scale works. Coffee scales also have a timer, a handy tool that gives you control over the brewing time.
Paper, cloth, or metal filter: what's the difference?
Paper filters do a good job, as do cloth or metal filters. All three separate most of the coffee grounds from the brewed coffee. Paper filters are the most thorough. While cloth and metal filters let some sediment and coffee oils through, paper filters stop the coffee's solids almost completely, depending on density.
I personally prefer coffee filtered with paper. It's the clearest, and no sediment residue remains in the cup to bother me with the last sip. Paper-filtered coffee has a lighter body, it feels less heavy on the tongue. But when brewed well, this coffee makes up for it with "elegance."
Coffee filtered with cloth or metal is robust and can bring out different notes through the taste of coffee oils than paper-filtered coffee.
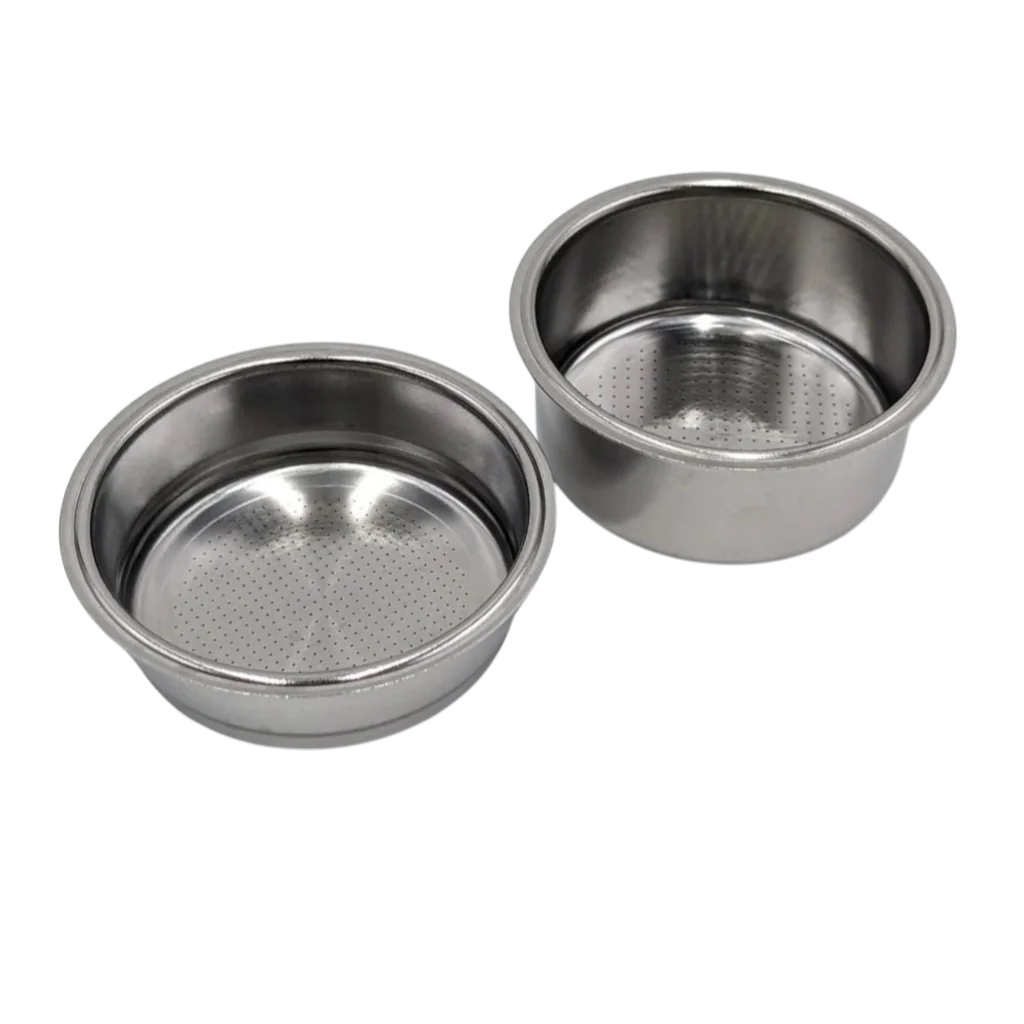
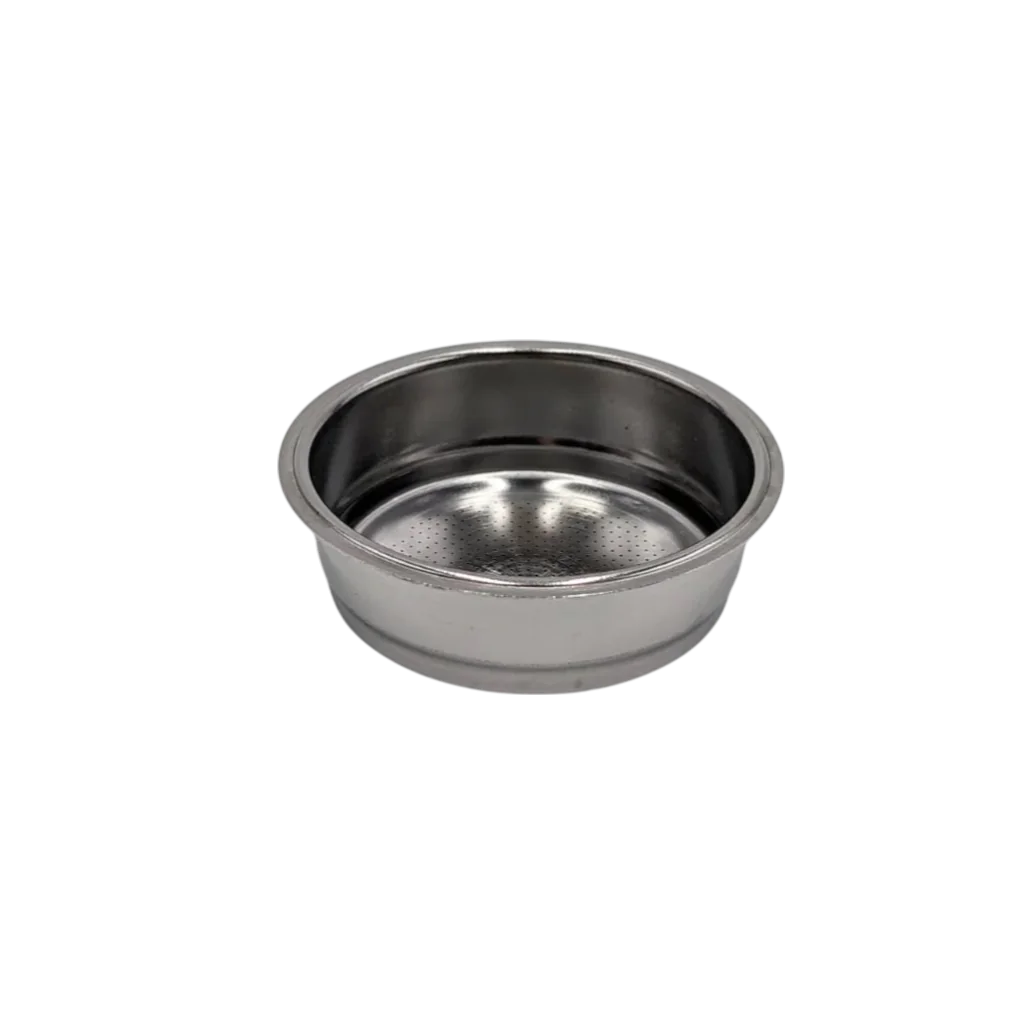
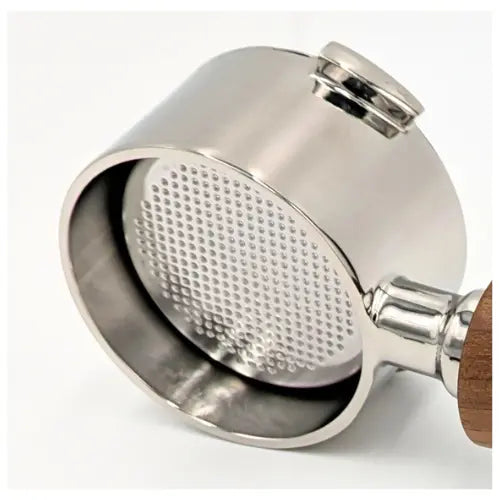
If I have to choose between cloth or metal, I choose a very fine-mesh metal strainer or screen, like the one in the Coffee Dribbler. We also made a test video about the Coffee Dribbler that highlights the benefits of this fine-mesh filter.
The major advantage over a cloth filter is relatively easy cleaning. Cloth filters get dirty quickly and heavily and need to be thoroughly machine-washed to develop little off-flavor. With a cloth filter, you always taste a little patina. Unfortunately, you can't avoid it.
Soft water is good water
For pour-over brewing: the softer the water, the more delicious your coffee. Nice side effect: Your kettle will scale up less.
Moderately hard and hard water buffer the acidity in the coffee. Acidity is very important for balance and flavor in all complex beverages. Without acidity, coffee tastes flat and hollow. It's true: hard water turns very good pour-over coffee into average coffee.
A few years ago, I traveled through Switzerland testing different waters to see which were suitable for brewing coffee. You can read the results here.
Soft and very good water for brewing pour-over coffee has less than 8 German degrees of hardness and more than 2 °dH. You can filter this water or use mineral water.
If you want to buy soft water, you'll definitely find the perfect mineral water for your region in this huge list.
It may sound exaggerated that water plays a role in this guide for good pour-over coffee. But pour-over coffee is 98.5% water and only 1.5% dissolved coffee particles. These numbers alone show how important water is.
Which coffee is best suited for pour-over?
Coffee beans roasted light to medium-dark work best for pour-over. They're more balanced in flavor and easier to brew. Darker coffees tend toward bitterness. Lighter roasts show the typical flavor notes of the region of origin more clearly. The way the green coffee was processed after harvest is also not overshadowed by overly strong roasting notes.
Many modern "specialty coffee roasters" tend to roast too light. In this case, the coffee is under-roasted and the flavor isn't fully developed yet. This extreme isn't ideal from our perspective either.
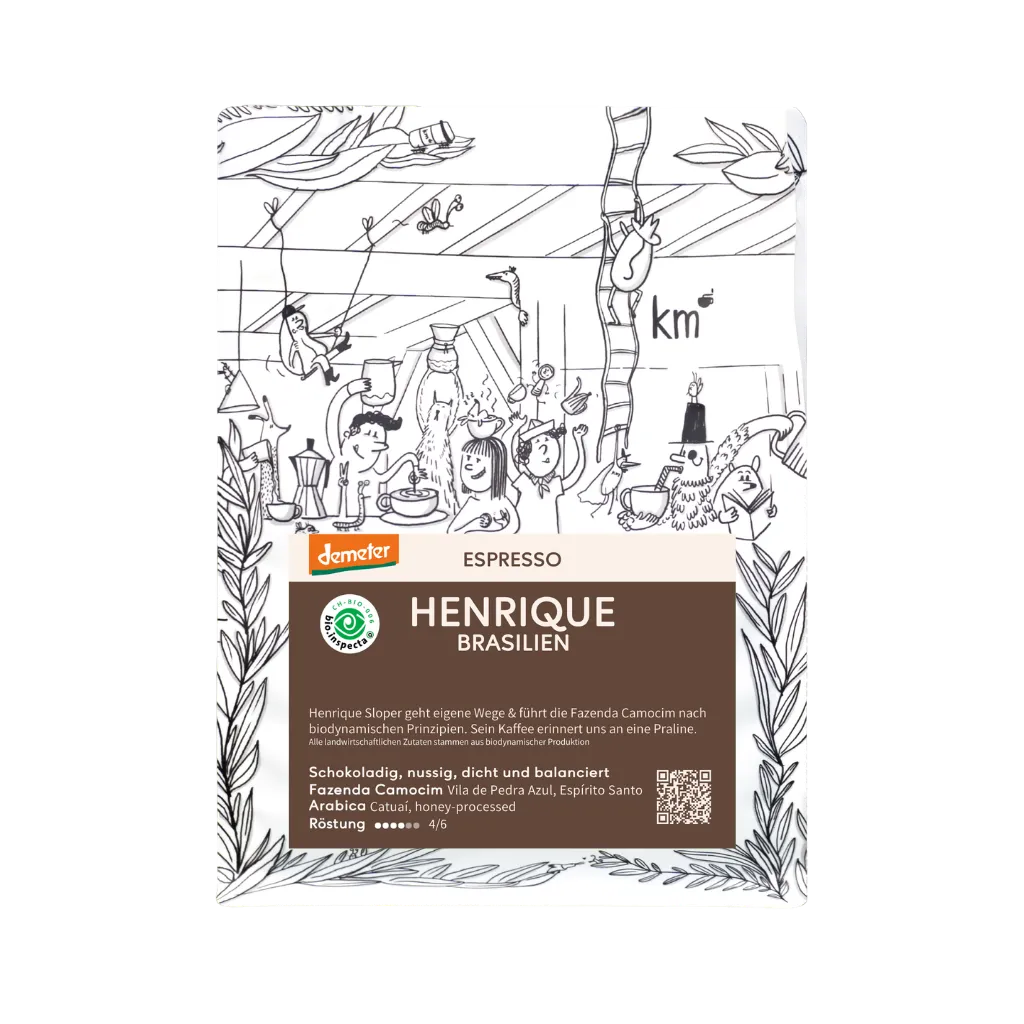
Our daily standard is Amigo. For it, we look for seasonally changing coffees that are balanced, chocolatey, and mild, and roast them a bit darker than our other pour-over coffees. So it works equally well in a French Press as it does in a V60 or classic filter machine. Currently, it comes from the Juntos project in El Salvador.

Chocolatey, caramel, balanced. Roasted a bit darker than our other pour-over coffees and therefore easy to brew in V60, French Press, and filter machine.
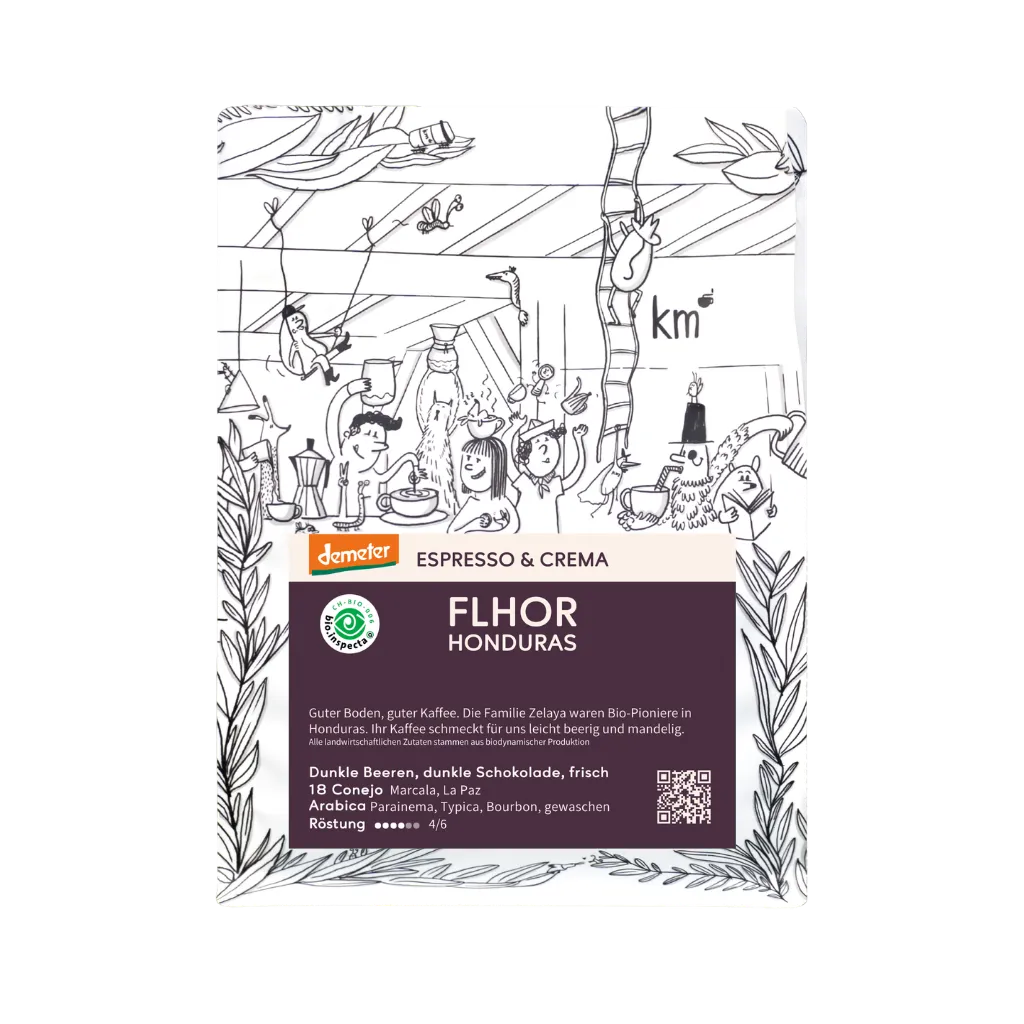
If you want to taste what origin and processing do to coffee, reach for our rotating pour-over coffees. There are around 16 different ones per year, and the differences between washed and natural, or between two growing regions, are laid out clearly.
If you don't want to try alone: With the Filter Adventure Subscription, a new pour-over coffee arrives each month, often from batches available only in small quantities. Once a month, we taste it live with all subscribers in about an hour, brew it, discuss it sensorially, and share the recipes.
How fresh should the coffee be?
Perfect pour-over coffee is no older than two months. You can tell by a roast date printed on the packaging. If there's no roast date visible on the package, that's a reason not to buy that coffee.
Only through the roast date can you determine the coffee's freshness. I like to drink pour-over coffee starting 3 to 5 days after roasting. The opened bag should be consumed within 2 weeks. The reason is the same as with grinding—the reaction with oxygen. Every time you open the coffee bag, fresh oxygen enters the bag, speeding up the aging of the beans.
Coffee can also be brewed immediately after roasting. However, it's then still heavily loaded with CO2, which both doesn't contribute positively to the taste and causes so much bubbling in the filter that the brewing doesn't proceed evenly. That's why a rest period of a few days after roasting makes sense. For espresso preparation, "degassing" of carbon dioxide for at least 10 days is advisable.
Brewing pour-over coffee step by step
With the following photos and video clips, we walk through brewing pour-over coffee with the Hario V60 step by step. This guide works for any standard coffee filter. As an example, we use 18 g of coffee and 300 g of water.

This type of pre-brewing is called blooming in English. The coffee literally blooms as some of the carbon dioxide escapes. Once the CO2 is gone, controlled brewing becomes possible.
Summary and brewing recipe
There isn't one right brewing recipe! There also isn't just one right way to make delicious coffee. That's really important. Don't let anyone tell you otherwise. With coffee: "what matters is in the cup." If your coffee tastes good, you've done everything right.
Have fun trying and brewing. How did it go for you? What tips and experiences have you made? I look forward to your comments and feedback.
If you want to learn more about brewing pour-over coffee, check out our YouTube channel.
Further articles and links
This guide is the foundation. If you want to learn a specific method in detail or dive deeper into the variables, keep reading here.